Chocolate Old-Fashioned Donut: A Timeless Treat for True Chocolate Lovers
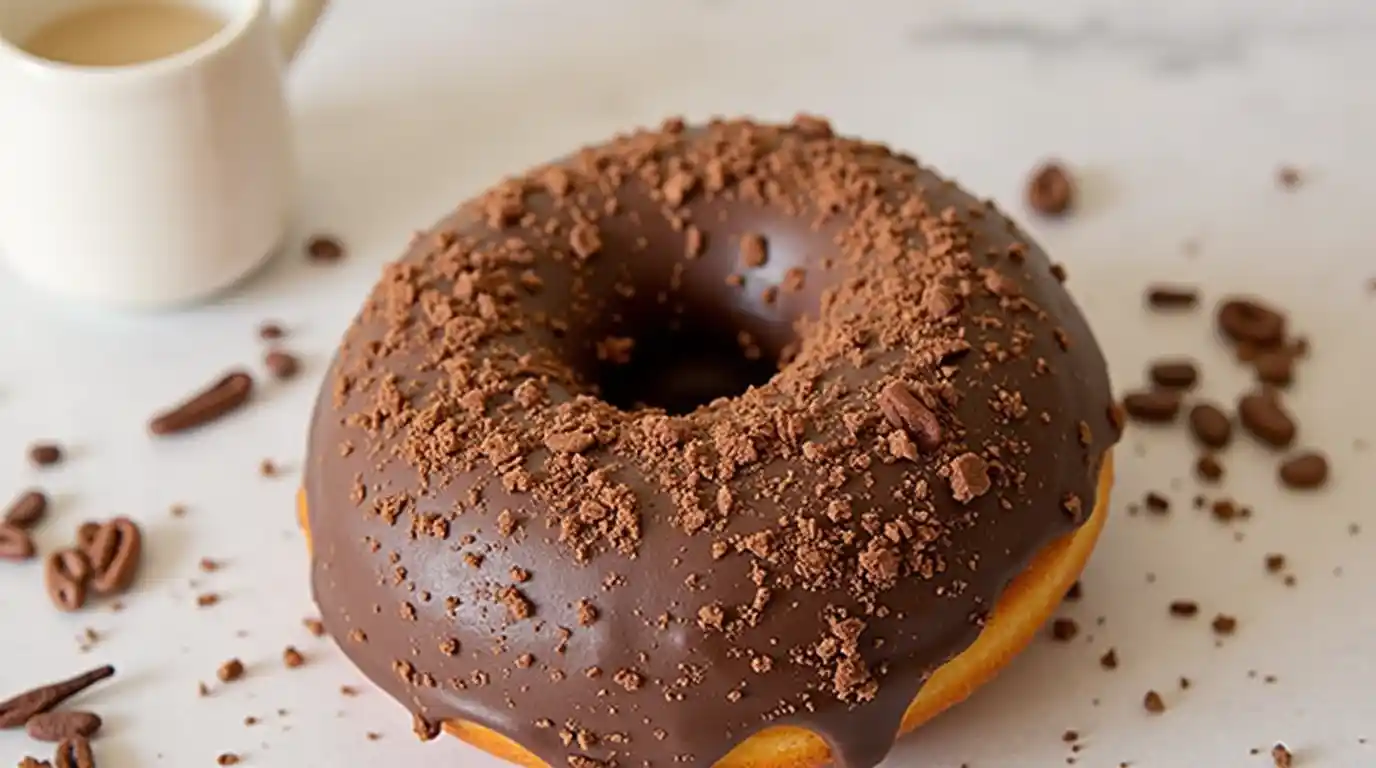
Few desserts can hold a candle to the comforting taste of a chocolate old-fashioned donut. Whether you grew up visiting a classic donut shop on Saturday mornings or discovered your love for these bakery favorites as an adult, there’s something undeniably nostalgic about that first bite of a donut that’s rich in chocolate flavor and has a crisp exterior. The chocolate old-fashioned donut, with its deep chocolate color and craggy edges, captures a special kind of old-timey charm reminiscent of simpler days—and yet remains relevant in today’s bustling world of gourmet pastries.
Table of Contents
In this article, we’ll explore all things related to chocolate old-fashioned donuts: where they come from, what makes them unique, how to bake or fry them at home, and how you can experiment with glazes and toppings. By the end, you’ll be armed with enough knowledge to whip up a batch of these classic treats that will make your kitchen smell like a vintage donut shop—perfect for weekend breakfasts, birthday surprises, or simply for indulging a craving.
The Essence of the Old-Fashioned Donut
What Is an Old-Fashioned Donut, Anyway?
An old-fashioned donut is often categorized under the “cake donut” family. Unlike yeast-raised donuts—which rely on yeast to develop their airy texture—cake donuts get their lift and density from leavening agents such as baking powder or baking soda. The term “old-fashioned” suggests a traditional approach: a denser crumb, a distinctive crackly ring around the outside, and a satisfying crispness on the edges.
While the original old-fashioned donut tends to be a plain or lightly spiced cake donut—often finished with a simple sugar glaze or dusting of powdered sugar—the chocolate old-fashioned donut uses cocoa powder or melted chocolate (sometimes both) to infuse that deep, unmistakable chocolate flavor. The result is a donut that’s rich, moist, and supremely comforting.
The Crispy-Crunchy Exterior
One of the calling cards of the old-fashioned donut is its ragged, craggy surface. As the batter hits the hot oil (if you’re frying) or bakes in the oven, it puffs and cracks around the edges. This shape isn’t just for show; it allows the donut’s surface to caramelize more effectively, creating a crisp outer layer that contrasts beautifully with the moist interior.
Key Ingredients for a Chocolate Old-Fashioned Donut
The beauty of chocolate old-fashioned donuts lies in their simplicity. Most recipes revolve around pantry staples, making them easy to whip up on a whim. Here’s what you’ll typically need:
Dry Components
- All-Purpose Flour
- Forms the base structure of the donut. Some bakers prefer cake flour for a more tender crumb, but all-purpose flour offers a balance between structure and softness.
- Cocoa Powder
- Provides the donut’s signature chocolate color and taste. Opt for Dutch-process cocoa for a smoother flavor, although natural cocoa powder also works if you want a slightly more robust, acidic chocolate flavor.
- Leavening Agents (Baking Powder, Baking Soda)
- Crucial for the donut’s rise and the formation of those classic cracks around the edges.
- Salt
- Balances sweetness and enhances the chocolate flavor.
Wet and Flavoring Components
- Sugar
- Granulated sugar sweetens the donut while contributing to the crust’s caramelization.
- Eggs
- Provide structure and moisture, ensuring the donut remains tender inside.
- Buttermilk or Sour Cream
- Acidity from these dairy options helps the leavening agents work efficiently. They also impart a subtle tang that complements chocolate nicely.
- Butter or Oil
- Adds richness and moisture, impacting both flavor and texture.
- Vanilla Extract
- A hint of vanilla underscores and rounds out the chocolate’s depth.
Baking vs. Frying: Which Method Is Best?
The Traditional Fry
Old-fashioned donuts are most commonly fried, which leads to that iconic crisp exterior and slightly porous surface. Typically, you’ll heat oil to about 350°F (175°C) and gently place the raw donut circles in the oil. They’ll cook quickly—usually within 2–3 minutes per side—expanding and cracking in that characteristic way. After frying, a short rest on paper towels removes excess oil, and the donuts are ready for glaze.
The Baked Alternative
If you’re hesitant about deep-frying or want a slightly lighter option, you can bake your chocolate old-fashioned donuts. In this case, you’d combine your dry and wet ingredients into a thick batter suitable for piping or spooning into a donut pan. Bake at around 350°F (175°C) for 10–15 minutes, or until a toothpick inserted comes out clean. While baked old-fashioned donuts won’t develop as many cracks or as crisp an exterior compared to fried versions, they can still be delightfully tasty—particularly when finished with a good glaze.
Step-by-Step Recipe: Classic Fried Chocolate Old-Fashioned Donuts
Below is a straightforward recipe for old-fashioned donuts that yields about 8–10 donuts, depending on the size of your cutter. You can easily double the batch if you’re hosting a party or want to freeze extras for later enjoyment.
Ingredients
- Dry
- 2¼ cups (around 280g) all-purpose flour
- ½ cup (about 40g) cocoa powder (preferably Dutch-process)
- 1 teaspoon baking powder
- ¼ teaspoon baking soda
- ½ teaspoon salt
- Wet
- ½ cup (100g) granulated sugar
- 2 tablespoons unsalted butter, softened
- 2 large eggs, room temperature
- ½ cup (120ml) sour cream or buttermilk
- 1 teaspoon vanilla extract
- Frying
- Neutral oil (like canola, vegetable, or peanut oil) for deep-frying, heated to about 350°F (175°C)
- Optional Glaze
- 1½ cups (about 180g) powdered sugar
- 3 tablespoons milk (plus more if needed)
- 1 teaspoon vanilla extract
- Pinch of salt
Instructions
- Sift Dry Ingredients
- In a medium bowl, sift or whisk together flour, cocoa powder, baking powder, baking soda, and salt. Set aside.
- Cream Butter and Sugar
- In a separate large mixing bowl, beat sugar and softened butter until slightly fluffy. This shouldn’t take long—just enough to incorporate air.
- Add Eggs and Flavoring
- Mix in eggs one at a time, scraping the bowl between additions. Stir in vanilla extract. The mixture may look slightly curdled, but it will come together once dry ingredients are added.
- Incorporate Sour Cream and Dry Mixture
- Alternately add the dry mixture and sour cream in batches. Begin and end with the dry ingredients. Avoid overmixing; stir just until combined to ensure a tender crumb.
- Shape the Dough
- Dust your countertop and hands with flour. Turn out the dough, and gently roll or pat it to about ½-inch thickness. Use a donut cutter or two round cutters (one large, one small) to form donut rings and holes.
- Frying
- Heat your oil to about 350°F (175°C). Work in small batches. Fry donuts for 2–3 minutes per side, or until they are puffed and slightly crackled around the edges. The exterior should be a darker shade of chocolate.
- Drain and Cool
- Transfer fried donuts to a rack lined with paper towels to drain excess oil. Let them cool slightly before glazing or dusting with powdered sugar.
- Glaze (Optional)
- Whisk powdered sugar, milk, vanilla, and a pinch of salt to form a smooth glaze. Dip the tops of your donuts, let the excess drip away, and place them on a wire rack. For a thicker glaze, use less milk; for a thinner glaze, add more in small increments.
Variations and Toppings
Simple Sugar or Cinnamon-Sugar
If you aren’t a fan of a thick glaze, consider tossing warm donuts in granulated or cinnamon sugar. The warm, cocoa-rich donut combined with a sugary coating is a classic approach, offering a nice crunch.
Chocolate Glaze with Sprinkles
Double down on chocolate flavor by creating a richer ganache or cocoa-based icing. Top with rainbow sprinkles, chocolate shavings, or chopped toasted nuts for added texture.
Peanut Butter Drizzle
For peanut butter lovers, whisk smooth peanut butter with a bit of milk or melted butter until it’s thin enough to drizzle. The combo of chocolate and peanut butter is irresistibly indulgent.
Maple Syrup Glaze
Mix powdered sugar with real maple syrup and a splash of milk for a sweet, earthy glaze. Sprinkle chopped candied bacon bits on top for a brunch-inspired spin that plays off sweet-and-salty flavors.
Tips for Perfect Chocolate Old-Fashioned Donuts
- Control Dough Temperature
- Slightly chilled dough is easier to handle, especially when shaping. If your dough becomes sticky, don’t be shy about adding a bit more flour or chilling it before rolling.
- Monitor Frying Oil
- Use a thermometer to maintain 350°F. Oil that’s too hot will burn the exterior, leaving the middle undercooked; oil that’s too cool will make donuts greasy.
- Keep It Tender
- Overmixing toughens the dough, creating dry donuts. Once the flour is added, stir just enough to bring the dough together.
- Batch Cooking
- Avoid overcrowding your pan. Fry 2–3 donuts at a time, depending on pan size. Overloading the oil can cause the temperature to drop, leading to uneven cooking.
- Glaze Timing
- Wait until your donuts have cooled slightly before dunking or drizzling glaze. Glazing them when they’re piping hot can cause the glaze to run off or become too thin.
Serving Suggestions
Weekend Breakfast Treat
Plate up a fresh batch of chocolate old-fashioned donuts with a side of fresh fruit or scrambled eggs for a balanced breakfast indulgence. Serve alongside hot coffee or tea to complement the rich chocolate.
Dessert Presentation
If you’re hosting a dinner party, arrange donuts on a tiered cake stand. Offer guests small bowls of various toppings—like chopped nuts, mini marshmallows, or shredded coconut—so they can customize their donuts.
Mini Donuts for Parties
Use a smaller cutter to make mini chocolate old-fashioned donuts, perfect for buffets or dessert tables. Because they’re bite-sized, guests can sample multiple flavors or glazes with minimal guilt.
Gift Boxes
Pack a few donuts into a decorative box, tie with a ribbon, and you have a thoughtful homemade gift. Great for birthdays, anniversaries, or a simple “thank you” gesture.
Frequently Asked Questions
1. Can I bake chocolate old-fashioned donuts instead of frying?
Yes. While classic old-fashioned donuts are known for their fried crispness, you can adapt the batter for baking by using a donut pan. However, the distinct old-fashioned “cracks” may be less pronounced, and the texture won’t be exactly the same.
2. Why is my donut dough sticky and hard to work with?
Chocolate dough can be slightly more prone to stickiness due to the cocoa content. Chill the dough for 15–20 minutes to make it easier to handle, and use extra flour on your work surface if needed.
3. How can I store leftovers without losing crispness?
Store donuts at room temperature in an airtight container lined with paper towels. The exterior crispness may wane over time, but a quick reheat in a low oven (about 300°F for 5 minutes) can help revive some crunch.
4. Do I need special cocoa powder?
Dutch-process cocoa powder generally yields a smoother, less acidic chocolate taste. Natural cocoa powder, however, is perfectly fine and can lend a slightly tangy bite. Either will work, but the flavor and color will differ slightly.
5. How do I ensure an even glaze?
Dip the top half of each donut into the glaze, swirl gently, and let the excess drip off before flipping it right side up. For a fuller coat, consider double dipping after the first layer sets.
Final Thoughts
Chocolate old-fashioned donuts occupy a cherished corner of the pastry world—bridging nostalgia with indulgent chocolate decadence. Their deep, complex flavor owes itself to cocoa, while their hallmark crunchy, craggy edges speak to the classic old-fashioned donut technique. Whether you choose to fry them the time-honored way or opt for a baked version, the result is a treat that’s warming, satisfying, and just a little bit magical when paired with a hot cup of coffee or tea.
Feel free to modify the recipe to suit your preferences: experiment with glazes, introduce a hint of espresso powder for a mocha twist, or incorporate different toppings that highlight chocolate’s versatility. However you personalize them, chocolate old-fashioned donuts never fail to spark joy and create memories—whether as a morning ritual, a midday pick-me-up, or the sweet finale to a special gathering.
For further details on donut-making techniques, including tips on rolling, cutting, and frying to perfection, visit King Arthur Baking’s Donut Recipes. Their comprehensive guides and step-by-step tutorials will help you hone your skills and achieve bakery-quality results at home.