Easy Chocolate Sticks Recipe – Just a Few Ingredients!
Chocolate sticks are delectable treats that appeal to chocolate lovers of all ages. Whether served as a dessert, snack, or party favor, they offer the perfect combination of flavor, texture, and visual appeal. In this comprehensive guide, we will explore a delightful recipe for making chocolate sticks from scratch, discuss variations, provide helpful tips, and even share some creative serving ideas. Get ready to dive into the sweet world of chocolate sticks!
Table of Contents
What Are Chocolate Sticks?
Definition
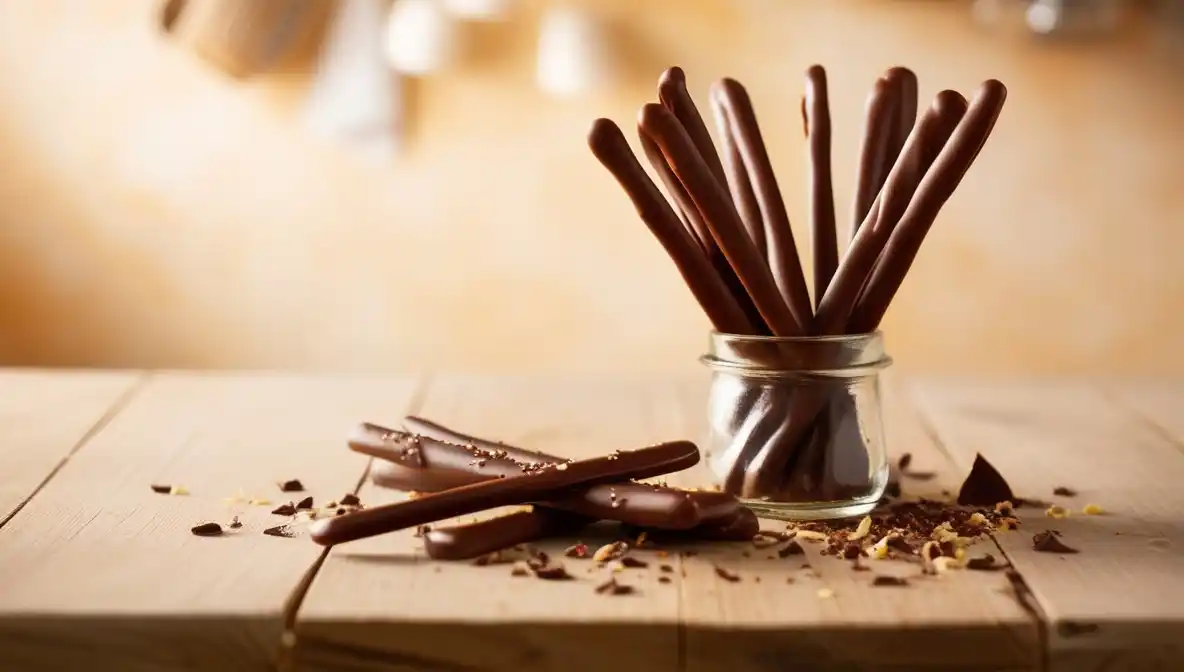
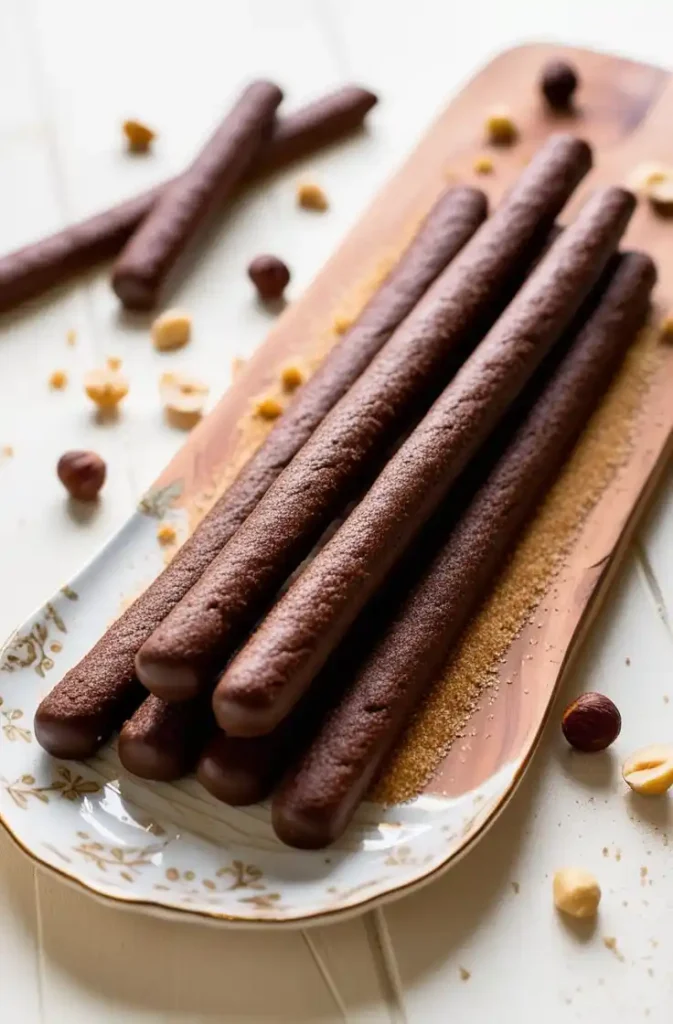
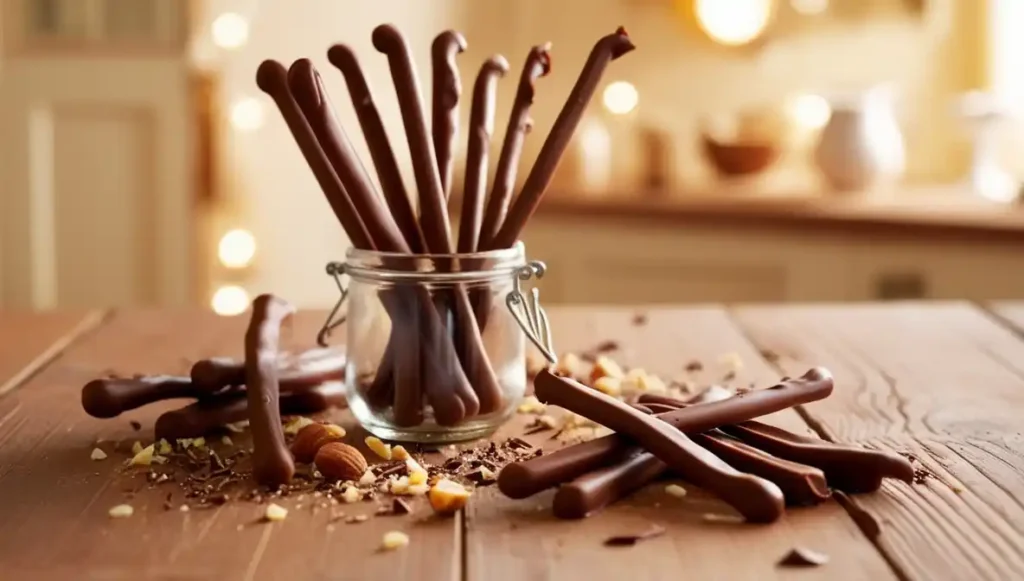
Chocolate sticks are thin, elongated pieces of chocolate that can be enjoyed on their own or used as an ingredient in various desserts and snacks. They can be made from solid chocolate or may include fillings for added flavor. Often coated in nuts, sprinkles, or flavored chocolate, chocolate sticks are versatile and simple to make.
Why Make it?
- Customization: You can easily tailor the flavor, coating, and fillings to suit your preferences or dietary needs.
- Simplicity: The recipe is straightforward, requiring minimal ingredients and equipment.
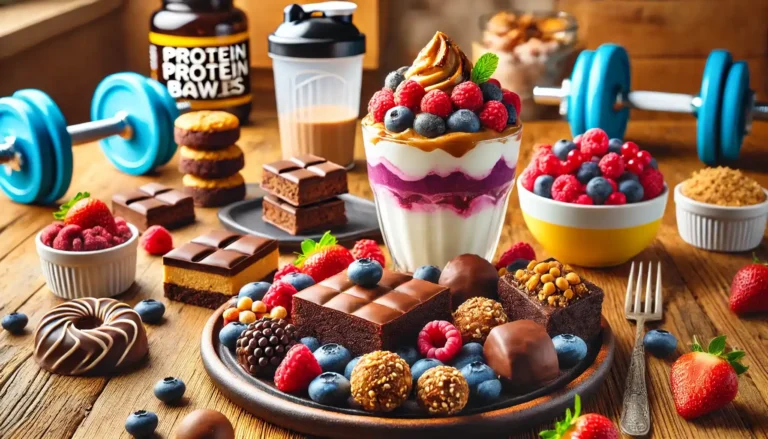
- Perfect for Events: Chocolate sticks make an impressive treat for parties, holidays, or as gifts.
Basic Ingredients
To make delicious chocolate sticks, you’ll need the following ingredients:
Ingredients
- 8 oz (about 227g) high-quality chocolate: You can use dark, milk, or white chocolate depending on your preference.
- 1 tablespoon coconut oil: This helps to achieve a shiny finish, especially if using chocolate chips.
- Optional toppings and flavorings: You can include crushed nuts, sprinkles, sea salt, or flavored extracts (like vanilla or peppermint) based on your preference.
Step-by-Step Instructions
Step 1: Prepare Your Equipment
Before you start, gather the following equipment:
- A heat-proof bowl: For melting the chocolate.
- A saucepan or double boiler: If you’re using the double boiler method to melt the chocolate.
- Parchment paper: For lining the baking tray.
- A spatula: For stirring the chocolate.
- A sharp knife or chocolate cutter: For cutting the chocolate into sticks.
- A baking tray: To set the melted chocolate.
Step 2: Melt the Chocolate
- Using a Double Boiler:
- Fill a saucepan with about an inch of water and bring it to a simmer.
- Place the heat-proof bowl on top of the saucepan, ensuring it does not touch the water.
- Add the chocolate and coconut oil to the bowl.
- Stir gently until the chocolate is completely melted and smooth.
- Using the Microwave:
- Place the chocolate and coconut oil in a microwave-safe bowl.
- Heat in 30-second intervals, stirring after each interval until the chocolate is fully melted and smooth.
Step 3: Pour and Spread the Chocolate
- Prepare the Baking Tray:
- Line a baking tray with parchment paper to prevent sticking.
- Pour the Chocolate:
- Carefully pour the melted chocolate onto the parchment paper.
- Use a spatula to spread it evenly into a rectangular shape, about 1⁄4 inch thick. The thickness can be adjusted based on how thick you want the sticks to be.
Step 4: Add Toppings (Optional)
- While the chocolate is still warm, sprinkle your desired toppings (like crushed nuts, sea salt, or sprinkles) over the chocolate. Ensure they are evenly distributed to enhance the flavor and texture.
Step 5: Firm the Chocolate
- Refrigerate: Place the baking tray in the refrigerator for about 20-30 minutes, or until the chocolate has completely set.
Step 6: Cut into Sticks
- Remove from the Refrigerator: Once set, take the chocolate out of the refrigerator.
- Cut into Sticks: Using a sharp knife or chocolate cutter, carefully cut the chocolate into evenly sized sticks. You can make them as thick or thin as you like.
Step 7: Serve and Enjoy!
- Your chocolate sticks are now ready to be enjoyed! You can serve them immediately or store them for later.
Storing
Room Temperature
Store the chocolate sticks in an airtight container at room temperature for up to two weeks. To prevent them from sticking together, place parchment paper between layers.
Refrigeration
If your kitchen is warm or you want to extend their shelf life, store the chocolate sticks in the refrigerator. However, bring them to room temperature before serving for the best flavor and texture.
Freezing
For longer storage, you can freeze chocolate sticks. Place them in an airtight container with layers of parchment paper between the sticks, and they will last for up to three months. Thaw in the refrigerator before serving.
Creative Variations
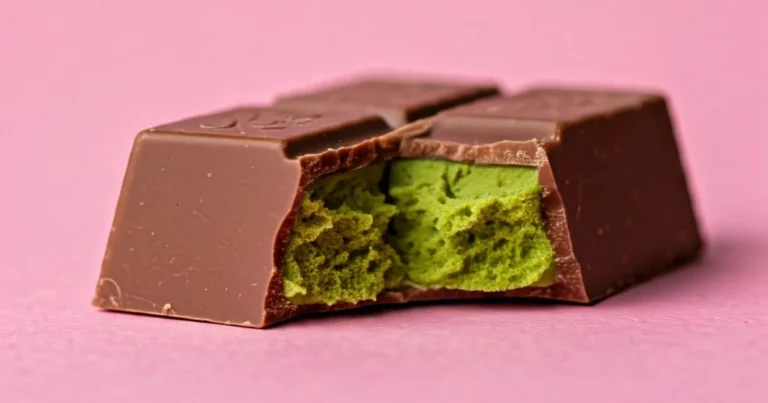
1. Filled Chocolate Sticks
Add a surprise element by filling your chocolate sticks with different flavors. Consider options such as:
- Peanut butter or almond butter: For a rich and nutty flavor.
- Caramel: Drizzle warm caramel over the chocolate before it sets.
- Fruit preserves: Spread a thin layer of your favorite jam underneath the chocolate.
2. Flavor-Infused Chocolate Sticks
To enjoy unique flavors, consider adding a few drops of extract to your melted chocolate. Try:
- Mint extract: Creates a refreshing mint chocolate stick.
- Lavender extract: Infuses your chocolate with a floral note.
- Cinnamon: Adds warmth and spice to your treats.
3. Colorful Chocolate Sticks
Add visual appeal by using colored chocolate melts or candy coating to create visually stunning sticks. You can drizzle contrasting colors over the set chocolate for an artistic touch.
4. Seasonal Variations
- Holiday-themed: Decorate chocolate sticks with colored sprinkles for holidays like Christmas or Halloween.
- Summer delights: Dip chocolate sticks in coconut flakes or crushed freeze-dried fruits for a refreshing twist.
Serving Suggestions
1. As a Snack
Chocolate sticks can serve as a delightful snack on their own. Pair them with a glass of milk, tea, or coffee for an indulgent treat.
2. Dessert Platter
Create an appealing dessert platter by arranging chocolate sticks with a variety of other desserts, such as fruits, cookies, or mini cheesecakes.
3. Gift Giving
Chocolate sticks make for wonderful homemade gifts. Package them in decorative boxes or jars and add a personalized note to share with loved ones on special occasions.
4. Kids’ Parties
Include chocolate sticks as part of a treat table for kids’ parties. They can be fun to eat and can be decorated with bright sprinkles or candies.
Health Tips and Considerations
Moderation is Key
While chocolate sticks are a tasty treat, enjoying them in moderation is essential. They are often high in sugar and calories, so it’s best to incorporate them as an occasional indulgence rather than a daily snack.
Ingredient Quality
Using high-quality chocolate enhances both flavor and texture. Look for chocolate with a high cocoa content for a richer taste, and consider using organic ingredients when possible.
Allergen Awareness
Be mindful of allergies when making chocolate sticks for gatherings. Common allergens include nuts, dairy, and gluten (if using certain toppings). Always clearly label treats to inform guests of any potential allergies.
Conclusion
Chocolate sticks are a simple yet delightful treat that can be made at home with minimal ingredients and effort. This versatile recipe allows for endless customization, making them perfect for any occasion. Whether enjoyed on their own, shared with friends, or given as gifts, chocolate sticks are sure to bring joy to anyone who tries them.
So gather your ingredients, unleash your creativity, and indulge in the wonderful world of homemade chocolate sticks today!
External Resource
For more delicious dessert recipes and tips, visit Chocolate Chocolate and More. This site offers a treasure trove of chocolate-based recipes and inspiration for all your baking needs.