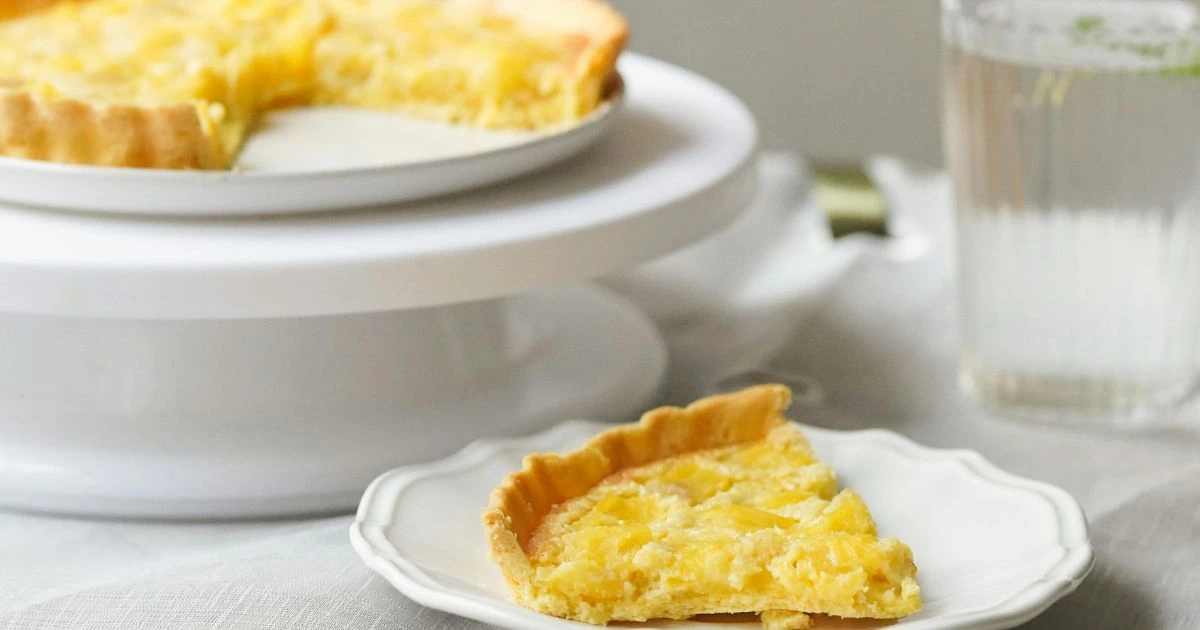
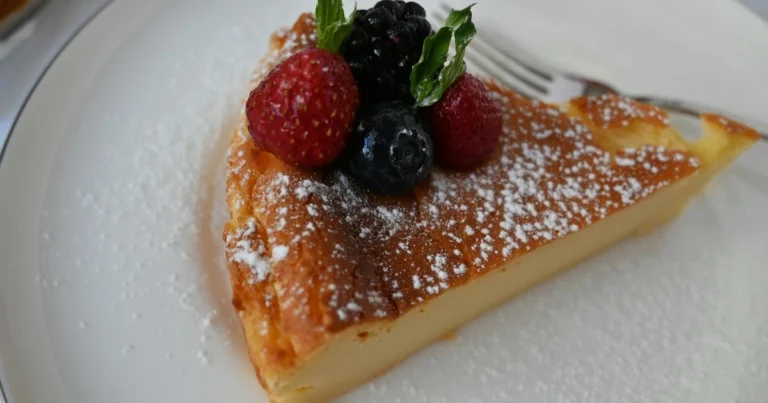
Classic Water Pie Recipe: A Simple, Nostalgic Dessert
Introduction: What Is Water Pie?
Sometimes the simplest recipes can be the most comforting. Water pie recipe, a humble yet fascinating dessert, has its roots in the Great Depression era. Born out of necessity, it uses minimal ingredients to create a creamy, custard-like filling with a sweet, buttery flavor.
Table of Contents
Why This Recipe Works
- Budget-Friendly: Requires pantry staples, making it cost-effective.
- Unique Texture: The filling magically transforms into a luscious, custard-like consistency.
- Timeless Nostalgia: This pie connects us to history and showcases the ingenuity of past generations.
Water Pie Recipe Card
Quick Facts
| Prep Time | Cook Time | Total Time | Servings |
|---|---|---|---|
| 10 minutes | 60 minutes | 1 hour 10 minutes | 8 slices |
Ingredients
| Ingredient | Amount |
|---|---|
| Unbaked 9-inch pie crust | 1 |
| Water | 1 ½ cups |
| Granulated sugar | 1 cup |
| All-purpose flour | Four tbsp |
| Unsalted butter | 5 tbsp (cut into small pieces) |
| Vanilla extract | 1 tsp |
| Salt | A pinch |
Step-by-Step Instructions
1. Preheat and Prepare
- Set your oven to preheat at 400°F (200°C).
- Position the pie crust into a 9-inch pie dish and keep it aside.
2. Add Dry Ingredients
- Sprinkle the flour and sugar evenly over the bottom of the pie crust.
3. Pour the Water
- Gently pour 1 ½ cups of water over the dry ingredients. Don’t stir—it’s part of the magic!
4. Add Butter and Vanilla
- Add small pieces of butter evenly across the surface and pour the vanilla extract over the filling.
5. Bake
- Position the pie on the middle rack of your oven.
- Bake for 30 minutes at 400°F, then reduce the heat to 375°F (190°C) and bake for an additional 30 minutes.
6. Cool and Serve
- Let the pie cool fully at room temperature before cutting; this ensures the filling sets properly.
Success Tips for Perfect Water Pie
- Don’t Stir: Mixing the ingredients will ruin the layered effect that creates the pie’s unique texture.
- Use a Deep Pie Dish: Prevent spills during baking by using a dish with higher edges.
- Protect the Crust: Cover the edges with foil halfway through baking to avoid over-browning.
FAQs: Key Questions Answered
1. Why Is It Called Water Pie?
The name comes from its primary ingredient—water—combined with a few staples to create a magical dessert.
2. Does It Taste Like Water?
Not at all! The butter, sugar, and vanilla transform the water into a rich, sweet, and custardy filling.
3. Can I Use Salted Butter Instead?
Yes, but omit the pinch of salt to maintain balance.
4. How Do I Store Water Pie?
Cover the pie tightly and refrigerate it for up to 3 days. Serve chilled or at room temperature.
Expert Tips & Variations
What Top Competitors Missed
- Adding a Cinnamon Sprinkle: A light dusting of cinnamon before baking adds a warm, spiced note.
- Brown Sugar Variation: Substitute half the sugar with brown sugar for a deeper flavor.
- Enhanced Vanilla Flavor: Use vanilla bean paste for a more pronounced vanilla profile.
Unique Additions
- Nutty Twist: Sprinkle chopped pecans or almonds on top before baking for added crunch.
- Lemon Variation: Add a teaspoon of lemon zest for a citrusy twist.
Troubleshooting: Common Problems & Solutions
1. Runny Filling
- Cause: Underbaking.
- Fix: Bake for an additional 10–15 minutes until the center is mostly set.
2. Crust Soggy at the Bottom
- Cause: Pie wasn’t cooled properly.
- Fix: Let the pie cool completely at room temperature to allow the filling to firm up.
3. Burnt Crust Edges
- Cause: Overexposure to heat.
- Fix: Use aluminum foil or a pie shield to protect the edges halfway through baking.
Trusted Resources for Further Reading
- King Arthur Baking – Tips for Pie Success
- Serious Eats – The Science of Baking
- AllRecipes – Depression-Era Recipes
Dive into the nostalgic simplicity of water pie—a true testament to creativity in the kitchen. Perfect for a unique treat or when you want to step back in time!

