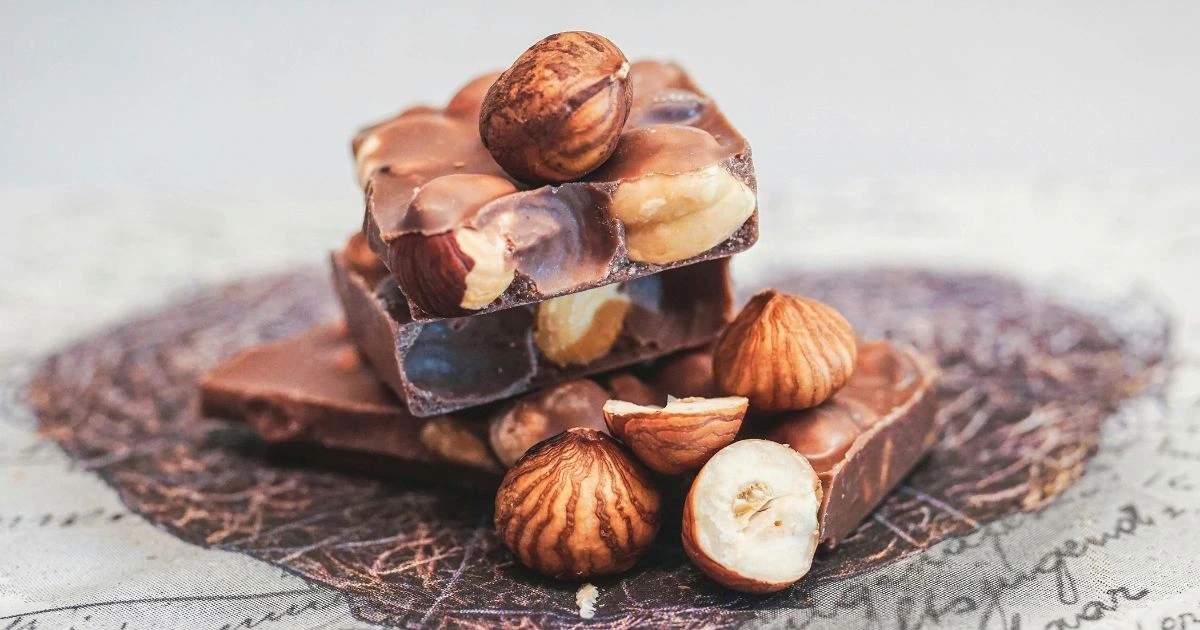
Remember that magical moment of biting into a perfect hersey candy bar and peanut butter recipe? Today, we’re recreating that magic right in your kitchen with a homemade version that might just become your new favorite treat. This recipe transforms simple ingredients into a luxurious candy bar that combines the iconic taste of Hershey’s chocolate with smooth, creamy peanut butter.
Table of Contents
Why hersey candy bar and peanut butter recipe Works
Our version stands out because we’ve perfected the chocolate-to-peanut butter ratio and incorporated a special tempering technique that gives your homemade bars that satisfying snap when you bite into them. Unlike store-bought versions, you control the quality of ingredients and can adjust the sweetness to your preference. Plus, these bars maintain their shape at room temperature, thanks to our carefully tested method.
What Makes It Unique
- Uses real Hershey’s chocolate for authentic flavor
- Features a stabilized peanut butter filling that doesn’t melt
- Includes a fool-proof tempering method for beginners
- Creates professional-looking results with simple kitchen tools
Recipe Card
| Recipe Details | Time/Quantity |
|---|---|
| Prep Time | 30 minutes |
| Setting Time | two hours |
| Total Time | 2.5 hours |
| Servings | 12 bars |
| Difficulty | Intermediate |
Ingredients
| Ingredient | Amount | Notes |
|---|---|---|
| Hershey’s milk chocolate bars | 16 oz (450g) | Roughly chopped |
| Smooth peanut butter | 1 cup (250g) | Room temperature |
| Powdered sugar | 1 cup (120g) | Sifted |
| Unsalted butter | 2 tbsp (30g) | Softened |
| Salt | ¼ tsp | Fine sea salt |
| Vanilla extract | 1 tsp | Pure, not imitation |
Equipment Needed
- Candy mold or 9×5 inch loaf pan
- Double boiler or heat-safe bowl
- Candy thermometer
- Offset spatula
- Parchment paper
- Food processor (optional)
Step-by-Step Instructions
Preparing the Chocolate Base
- Line your mold or pan with parchment paper, ensuring smooth corners.
- Chop chocolate into small, uniform pieces for even melting.
- Transfer two-thirds of your chopped chocolate into your melting vesselAdd about 67% of the chocolate pieces to your double boiler setup
- Heat water to a gentle simmer, place bowl on top.
- Melt chocolate to 115°F (46°C), stirring occasionally.
- Remove from heat, add remaining chocolate, stir until temperature reaches 81°F (27°C).
- Briefly return to heat until temperature reaches 88-89°F (31-32°C).
Creating the Peanut Butter Filling
- In a food processor or large bowl, combine peanut butter, powdered sugar, and softened butter.
- Mix until completely smooth and no sugar lumps remain.
- Add salt and vanilla extract, mix to combine.
- Mixture should be thick but spreadable.
Assembly
- Spread an even layer of melted chocolate across the bottom of your mold
- Tap gently to remove air bubbles.
- Let set for 10 minutes at room temperature.
- Spread peanut butter filling evenly, leaving ¼ inch border.
- Pour remaining chocolate over filling.
- Tap again to ensure even coverage.
- Let set at room temperature for 2 hours.
Success Tips
The Perfect Temperature
Temperature control is crucial for achieving that professional chocolate shine:
- Never exceed 115°F when melting
- Cool to exactly 81°F before reheating
- Final working temperature should be 88-89°F
Peanut Butter Selection
- Use commercial smooth peanut butter for best stability
- Avoid natural peanut butter that separates
- Room temperature peanut butter mixes better
Expert Tips & Variations
What Sets This Recipe Apart
- Stabilized Filling: Our recipe includes powdered sugar and butter to prevent the peanut butter from becoming too soft.
- Proper Tempering: Unlike many homemade versions, we focus on proper chocolate tempering for better texture and shelf stability.
- Customization Options: Easy to adapt for dark chocolate lovers or different nut butter preferences.
Creative Variations
- Dark Chocolate Version
- Swap in Hershey’s Dark chocolate variety for a richer flavor
- Reduce sugar in filling by 25%
- Crunchy Edition
- Add ½ cup crushed peanuts to filling
- Sprinkle chopped peanuts on top before final set
- Double Layer
- Create two thinner peanut butter layers
- Add chocolate layer between them
Troubleshooting Guide
Common Problems & Solutions
Problem: Chocolate looks dull or streaky
- Solution: Chocolate wasn’t properly tempered. Ensure precise temperature control and even heating.
Problem: Filling is too soft
- Solution: Add more powdered sugar, 1 tablespoon at a time, until desired consistency is reached.
Problem: Chocolate seizes
- Solution: Start over, ensuring no water comes into contact with chocolate.
Storage Tips
- Keep your finished candy bars in a sealed container at ambient temperature
- Can be refrigerated but may develop condensation when brought to room temperature
- Lasts up to 2 weeks when properly stored
Nutrition Information
(Per serving, based on 12 servings)
- Calories: 320
- Total Fat: 21g
- Saturated Fat: 9g
- Carbohydrates: 32g
- Protein: 7g
- Fiber: 2g
Expert Resources
- Hershey’s Official Website – Chocolate Tempering Guide
- National Confectioners Association – Candy Making Tips
- The Culinary Institute of America – Professional Chocolate Work
With this detailed recipe and guide, you’re well-equipped to create professional-quality chocolate peanut butter bars at home. Remember that practice makes perfect when it comes to chocolate work, so don’t be discouraged if your first attempt isn’t picture-perfect. The taste will still be amazing! Happy candy making!

